
Having Issues?
Find your solution now
FREQUENT ISSUES
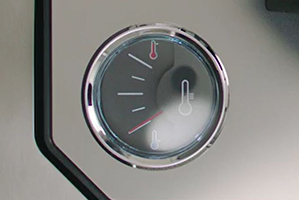
EXPERIENCING ISSUES WITH WARM BEER?
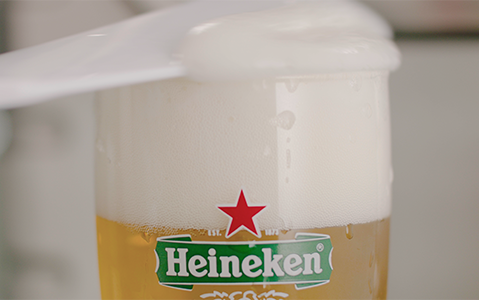
EXPERIENCING ISSUES WITH TOO MUCH FOAM?
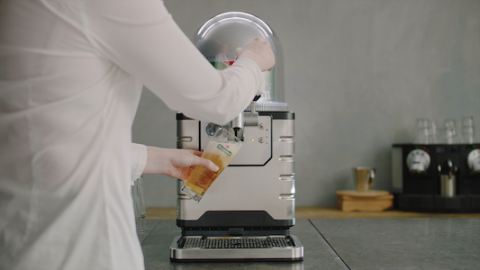
EXPERIENCING ISSUES WITH SLOW FLOWING BEER?
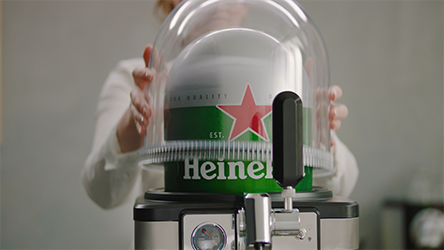
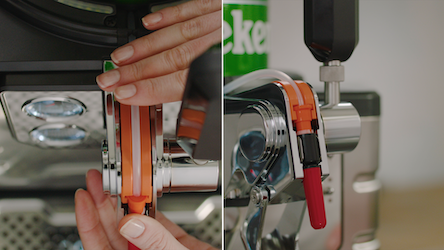
EXPERIENCING ISSUES WITH A STUCK KEG?
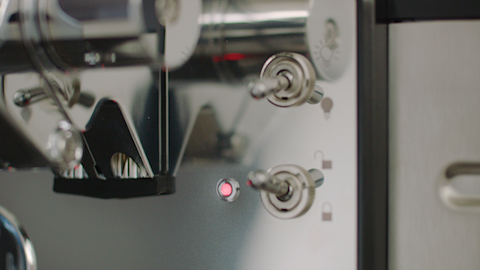
EXPERIENCING ISSUES WITH LIGHT NOT TURNING GREEN?
EXPERIENCING ISSUES WITH UNSTOPPABLE BEER FLOW?


